
Category: Blogging

A few months ago I was talking to a friend about the current blogging landscape and we were both saying how we felt the pressure to post regular, valuable content because that is what you are 'supposed' to do as a blogger.
Basically we were both struggling with this idea of the 'perfect blogger' and why the hell we were finding it so hard to do when everyone else seems to manage just fine, at least so it seemd from our distanced perspective.
A few days later it clicked for me. The issue here was comparisonitis. I didn't even realise it at the time, but what I had been doing was comparing myself to, not just one, but ALL the amazing bloggers out there and holding myself to the highest standard possible. And this, as you can imagine, resulted in what I call perfection paralysis.
I originally wrote this post the week after having this conversation with my friend but it's been sitting in my drafts since then. Between then and now that pressure I felt from comparing myself to other bloggers has since diminished significantly as I have stopped focusing so much on what others are doing. As a result my motivation and inspiration has returned.
I wanted to write this post today because I know this is an easy trap for bloggers and solopreneurs to fall into, and it can be detrimental to our motivation, work and spirit. It's so important that we are aware of this entrepreneurial ailment so that we can avoid and/or snap out of it.
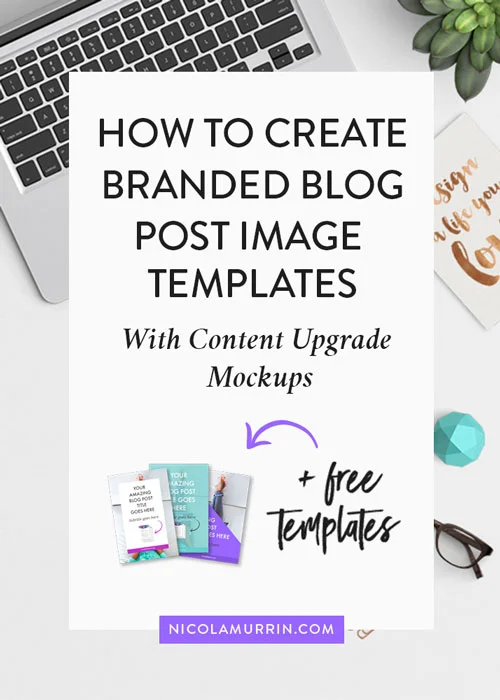
Believe it or not, having branded blog post feature images is great strategy for driving traffic to your website. How, you may ask? By sharing your beautifully designed blog post images on Pinterest. To stand out on Pinterest your blog post images need to be well designed and consistent.
The easiest way to do that is to design a blog post feature image template that you can use to quickly create an image each time you have a new blog post. In this post I'm going to show you how to create a branded blog post image templates with content upgrade mockup previews that people will be unable to resist clicking.

Having a brand style board for your blog that defines your visual identity has now become an essential part of blogging, In this post I'm going to show you how to create your own brand board for your blog or business. But first let's look at what a brand style board is and why you want to have one.
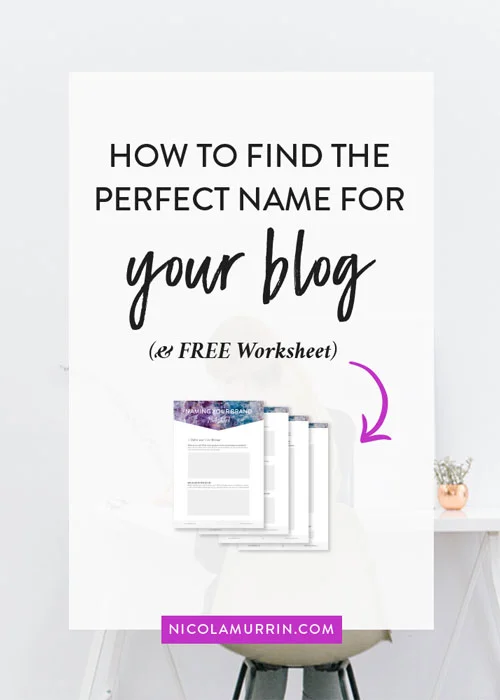
Coming up with the perfect name for your blog or business can be an incredibly challenging task. When we have a big and exciting vision of what we want to create with our business / blog, we want to make sure that the name is perfect.
This big decision can feel rather overwhelming and it's something that I see holding many people back from getting started. But it doesn't have to be that way and in this post I'm going to share with you a simple process that you can follow to help you come up with the perfect name for your new blog / business.

No website is complete without stunning imagery. After all, an image says a thousand words and images, whether it be photos, icons, illustrations or backgrounds are a central part of our website design. (By the way if you're looking for the best sources for free images you should check out The Design Vault)
But could your images be slowing your website down? If you have an image heavy website (like a regularly updated blog) and do not save your images optimised for web then chances are the answer is yes. This is not good because slow loading is a major reason for people leaving a website.
However, now that you're here, you will no longer have one of those websites. In this post I'm going to show you exactly how to optimise your images and increase the speed of your website.

We live in a world that is overflowing with information. There are millions of blog posts, videos, podcasts, books, and articles on any single topic you can think of. As fellow bloggers, creatives and entrepreneurs, I'm sure you have experienced information overwhelm too. So, to make things easier for you, I thought that I'd put together a short list of my top 5 videos for anyone who is or aspires to be a blogger, creative, entrepreneur or any combination of these.
All 5 of these videos really impacted me and my thinking and it is for this reason that I cannot rank them. They are all equally amazing for different reasons and are in no particular order. Most of these videos go for about 15 to 20 minutes except for one which goes for just over 40 minutes but it's so good that it seriously felt like it was 5 minutes. So this is a great post to PIN NOW for a rainy day when you can curl up with a cup of tea and have a little inspiration binge.

In today's world, where content marketing is such a central part of building a business, creating valuable, interesting blog posts on the reg is so important. Being in the blogosphere I know what it's like to feel like you have to keep up with everyone else in order to get seen.
But when there are millions of amazing posts being posted daily, how the hell can little ol' you possibly hope to keep up? In this post I'm going to share my top secrets on how to write great blog posts that people will actually want to read.
The good news is that writing a blog post doesn't need to be grueling task. Even if you hate writing or feel like it's not something that comes naturally to you. You don't need to be a literary genius to write a great blog post.
It is possible for you to write amazing blog posts with ease. So let's dive in

A couple of weeks ago I wrote a post about the best places to find free fonts online, so this week I thought I'd show you where to find the best free stock photos to use on your blog or website.

If you often find yourself worrying about how many people have liked, viewed or commented on your blog post, how to gain more subscribers, how to generate revenue from your blog or how to stand out against all the other amazing blogs out there, then chances are the answer is yes, you are holding your blog back.
Before I get into this post I want to tell you a little story of something that happened to me only this morning that inspired me to write this post. I was actually working on another post for this week and decided to save it for another time and post this one this week.

Many people think that you have to pay a lot of money to download good fonts. And it's true that to purchase the licence for a font it will cost you often $100 - $500. Unless you are really rich or run a profitable business, this kind of money is just not realistic for most of us bloggers.
But the good news is that there are loads of beautiful fonts, that look just as good, that you can get for free! In this post I'm going to share with you the best places to find free fonts that you can use for your blog.

Blog niche is a bit of a buzz word at the moment in the blogosphere. Every blogger and his/her dog is out there trying to find their niche, and there is no shortage of information on the subject. A quick google search will give you countless articles about various strategies that involve finding keywords, SEO ranking, social media, networking, copy writing and web design just to name a few. But today I'm going to share with you 5 little known secrets to finding your blog niche. And I'm not talking about just any blog niche, but one that inspires you and feeds your soul.

I’ve been online for a few years now, but I’m only new to the Squarespace bandwagon. Prior to my rebrand, which you can read about here and here, my website was on a self hosted Wordpress site. But I have just made the move over to Squarespace and today I’m going to share with you the main reasons behind the switch

Last week I relaunched my website and brand identity. If you have been following along on social media you’ll know that I set myself the challenge of completing my rebrand in 2 weeks. Today I’m going to share with you the behind the scenes process that went into creating my branding in the first week.
Yep it's time. My online digs are in need of renovation. And now that I'm a graphic designer, I'm armed with the tools and the skills to do it. But before I get into how I'm going to do it, I first want to tell you why.
In my first blog post back, I said that I was thinking that I would keep my graphic design separate from my blog. But after having almost two weeks to sit with this decision, I realised that it wasn't actually what I want. I made it out of the fear that the two were incompatible.
But I love graphic design, and I love talking about and sharing what I've learnt in my continuing inner work. After all you can't separate our inner work, from the work we do in the world. They both feed each other.
So I've decided not to separate it. Anyone who has a blog or a business knows how it is one of the best ways of bringing up all sorts of fears and issues for us to face. Putting yourself out there will do that to you. Blogging and/or running a business is just as much an inner journey as it is an outer one. And so my blog is going to continue to be a place for me to share and document the lessons I'm learning in design, branding, blogging and life.
AND NOW TO THE EXCITING NEWS.
Do you want to create professional looking feature images for your blog posts but don't know how to use Photoshop? No problem. The good news is that you don't have to learn complex programs, spend lots of money or be a graphic designer in order to create good visual content for your blog. In fact you can do it for free. If you read my previous post, you'll know why it's so important to add text to your blog post images. Today I'm going to show you exactly how I do it. And while I may have just started studying to become a graphic designer, I (at the time of writing) do not know how to use Photoshop.
You can create professional graphics using free, easy to use software and today in this video tutorial I am going to show you how.
This is a bonus post today because I wanted to announce my exciting news. I'm becoming a Graphic Designer! Today is actually my first day of Graphic Design School. I can't tell you how excited I am. Actually this all happened really quickly. If you had have asked me 2 weeks ago what I'd be doing today, my answer would not have been starting a graphic design course.
How it all transpired
So you've written, proof read and completed your final edit of your blog post and your ready to hit post. Oh wait! You almost forgot to add a feature image. After a quick search on your favourite free stock photo site (because you know you can't use just any old google image) you upload a pic and hit publish. This is something a see quite a bit online. Bloggers who write a great post, but the feature image looks like it was a bit of an after thought. I think this is such a shame because this is such a missed opportunity.
We live in a world that is so visually orientated and in which social media is the primary way that most of us consume or are directed to information. It is now so important that we optimise our blog post feature images. Here are my top 5 reasons you should be adding text to your blog post feature images
During my time off (which you can read about in my previous post) I learnt a lot. The time offline really gave me an opportunity to reflect and get really honest with myself. Perhaps the most significant realisation was why I was struggling to find the inspiration and motivation to blog and 'go pro'. The week before I stopped blogging I had sent out an email to my subscribers (if your not already on the list you can join here) declaring my intention to, in the words of Steven Pressfield, 'go pro'. B-School had just started again and I was genuinely really excited to go through the course and really implement everything into my blog and business.
But then (ba ba bowww) I crashed. I was literally exhausted because I had spent the last 2 years with my wheels spinning, trying to find some traction to propel me forward. I was trying to create the life of freedom, passion and creativity I wanted and to become the person I've always wanted to be.
I just couldn't do it anymore. It all caught up with me and I was forced to face some things in myself and in my life that I had been avoiding. It was quite intense and I just couldn't find the motivation to blog or do B-School. Luckily I had enough insight to realise that I was feeling this way for a reason so I honored it and gave myself permission to have a break, while I explored what was really going on.
In my exploration I dug up one of the most valuable insights.
Welcome to part 2 of the Ultimate Guide to Creating a Free Resources Library in Squarespace. If you haven't already read Part 1 where I show you how to create your library on your Squarespace website then be sure to read that first.
Ok. So now that you've created your free resource library it's time to give your subscribers access to it. In this part of the guide I'm going to show you how to set up your resource library delivery system using the email marketing software ConvertKit.
I used to use Mailchimp as my email marketing system because it's free for the first 2 000 subscribers and it integrates directly with Squarespace opt-in forms.
However I made the switch earlier this year to ConvertKit because it is designed specifically for professional bloggers and the opt-in gift delivery system in ConvertKit is, in my opinion, better and easier to set up than Mailchimp.
ConvertKit also has amazing email sequence functionality which makes setting up autoresponders and email e-courses really easy. There are so many other reasons why I like ConvertKit which I won't go into here as it could be an entire post in itself.
I highly recommend making the investment in this software, especially if you are serious about growing your blog or business. It is the software that I use and will be showing you how to set up in this tutorial. So let's get started!