Believe it or not, having branded blog post feature images is great strategy for driving traffic to your website. How, you may ask? By sharing your beautifully designed blog post images on Pinterest. To stand out on Pinterest your blog post images need to be well designed and consistent.
The easiest way to do that is to design a blog post feature image template that you can use to quickly create an image each time you have a new blog post. In this post I'm going to show you how to create a branded blog post image templates with content upgrade mockup previews that people will be unable to resist clicking.
Before we get into this post I want to give a quick shout out to Titilayo whose question in one of the Facebook groups we are in together, inspired me to write this post. Thanks for the idea Titilayo!
To create a branded blog post image you are going to be using a couple of things:
1. Your Brand Board
You'll need to have your brand board with you, at least at first until you know it by heart, so that you know which colours, fonts and image style to use. If you don't have one of these I highly recommend that you checkout out my post on how to create your own brand board because one of the key things to standing out on Pinterest is consistency. When your blog post images consistently use the same colour palettes, fonts, layout and style people will start to remember and identify you. This helps to build up trust with your audience making them more likely to click through to your site.
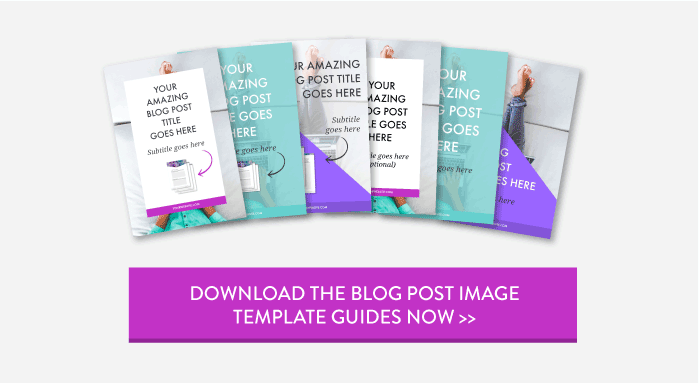
2. Free Blog Post Image Template Guides
To make things even easier I have done the design work for you and have created 6 FREE blog post image template guides. In this tutorial I'll be showing you how to set up your own blog post image template in Picmonkey using these template guides. Once you have created the template all you need to do is customise by substituting in your brand fonts and colours.
3. Picmonkey
Picmonkey is an free online photo editing software and it is what we are going to be using to create our blog post image. I usually use Photoshop and Illustrator to create my Blog Post feature images but I know that a lot of people don't own this software or know how to use it.
You could also use Canva, another great online graphic design software, but I prefer Picmonkey because you can access the fonts (i.e. brand fonts) you have installed on your computer and it also has a customizable drop shadow filter which we'll be using to create the content upgrade mockup.
Side note: If you want to learn more about Canva and Picmonkey I created a great Picmonkey / Canva comparison chart which you'll find inside The Design Vault
For this tutorial I'm going to be recommending that you purchase a Picmonkey Royale subscription (AU$63 per year with monthly payment plans available) because we will be using the Picmonkey Hub, a feature only available in their premium account.
Picmonkey Hub allows you to save your designs so that you can come back and re-edit later. This is how you are going to create your templates so that once you've set up your template, based off one of my template guides, creating a new blog post feature image will only be a matter of swapping out the text and images.
Another side note: I am not affiliated with or receive any financial reward for recommending Picmonkey.
And now for the tutorial....
I hope you enjoyed this tutorial and are excited to start creating your own blog post image templates! Don't forget to download your free template guides to help you.