
Welcome to part 2 of the Ultimate Guide to Creating a Free Resources Library in Squarespace. If you haven't already read Part 1 where I show you how to create your library on your Squarespace website then be sure to read that first.
Ok. So now that you've created your free resource library it's time to give your subscribers access to it. In this part of the guide I'm going to show you how to set up your resource library delivery system using the email marketing software ConvertKit.
I used to use Mailchimp as my email marketing system because it's free for the first 2 000 subscribers and it integrates directly with Squarespace opt-in forms.
However I made the switch earlier this year to ConvertKit because it is designed specifically for professional bloggers and the opt-in gift delivery system in ConvertKit is, in my opinion, better and easier to set up than Mailchimp.
ConvertKit also has amazing email sequence functionality which makes setting up autoresponders and email e-courses really easy. There are so many other reasons why I like ConvertKit which I won't go into here as it could be an entire post in itself.
I highly recommend making the investment in this software, especially if you are serious about growing your blog or business. It is the software that I use and will be showing you how to set up in this tutorial. So let's get started!
In this tutorial I'll be showing you how to set up a really simple one line form and how to embed it on your website.
Want to get a little more advanced and learn how to set it up as a Leadpages LeadBox looking button like mine?
Check out my Leadbox lookalike video tutorial.
1. Create new opt-in form
i. Sign in to your ConvertKit Account and select Forms in the main navigation at the top.

ii. Scroll down to the Forms section and click the Create Form button on the top far right.
iii. On the next screen select 'A Form'

iv. Choose the style of for you want to use. I chose the naked form on the far right.

2. Customise Form Appearance
i. You will then be taken to a preview of your form. Click and highlight the button text (and other text areas if using one of the other form styles) to customise.

ii. Hit the Save button in the toolbar above the form.

iii. Select the magic wand icon next to the Save button to customise the form colours to match your brand colours.

iv. To edit the colours click on the square of colour and enter in the hex code for the relevant brand colour you wish to use. Hit OK.
Do this for each colour you wish to change.

v. Once you are happy with how your form looks, hit save again in the top right hand of the toolbar above the form.

If you want your form to be a pop-up that comes up when you click a button like mine, I created a video tutorial where I show you how to set it up.
3. Customise the settings of your form
i. In the toolbar depicted in the image above click on the settings tab.
ii. Customise the Main Settings as depicted below:
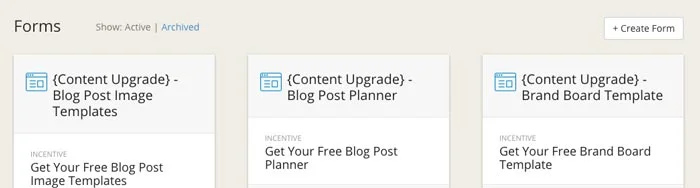
a. Enter in the name of your form in the Form Name field. Include in the form name the location where you will place the form on your website e.g. homepage header, blog sidebar etc.
NOTE: Creating separate forms different pages and areas on your website will help you track form conversion rates. I'll show you later in this tutorial how to quickly duplicate your form so you don't have to create this form from scratch for each section of your website.
b. Select 'Just a form to embed on my site'
c. Select 'Redirect to another page' and insert the url of your thank you page
d. If you have a welcome sequence setup you can select it from the drop down menu and check 'Make sequence mandatory for all new subscribers'
e. Save form

4. Set up incentive email to deliver library access to your subscriber
Now we need to set up the incentive or confirmation email so that your new subscriber confirms their subscription and is added to your list and is given access to your resources library. This is why I love ConvertKit. You can set this up so that your subscriber can confirm their subscription and get the freebie with one click.
i. Select the 'Incentive Email' tab in the sidebar under Main Settings

ii. Customise the subject line. I recommend saying something about your access to the free resources library in the subject line e.g. 'Here's your Free Resources Library Login'
iii. Next customise the email message text. Make the email sound a bit more personal. The main information that you want to include in this email is:
- Thanks for joining / glad you're here
- Name of your free resources library
- A sentence on what they can expect to find inside
- Instructions for how to log in
- The password (don't forget this!)
- A little reminder to save this email so they don't lose the password
- How they can contact you if they have questions / need help
iv. Customise the button text (the blue and white box in the message). Change the text to say something like 'Log in to the Free Resources Library'
v. Go back to your resources library page in Squarespace and go to the page settings by clicking the gear icon to the left of the page name in the pages menu.
Go to the URL Slug field and highlight and copy the text.

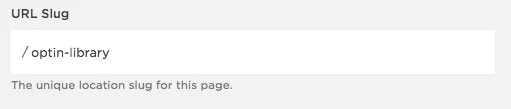
vi. Go back to ConvertKit and under Thank You Page select URL. Type in your website URL e.g. http://nicolamurrin.com and then paste in the library page URL slug that you just copied.

Now when someone clicks on the button in the email they will be confirming their subscription to your list and be re-directed to your Free Resources Library page. How easy is that!
vii. Go to the bottom and click 'Save Form'

5. Embed the form on your site
i. Go to the Embed tab on the left.
ii. With the Javascript box selected, click on the code to highlight it and copy the code.

iii. On the page on your website where you want to insert the form, click the black bubble and select the code block.
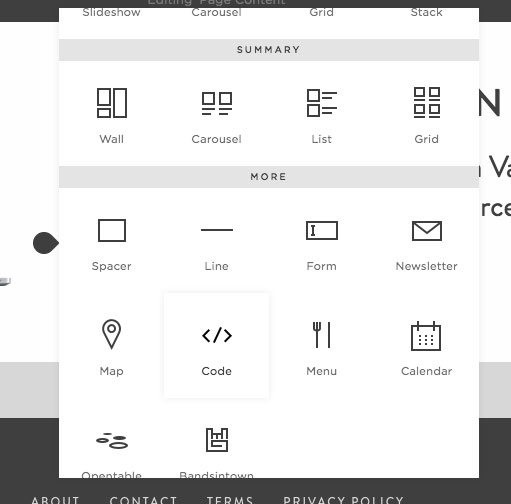
iv. Paste the Javascript code that you copied from ConvertKit and click 'Apply'.

v. Now your form should look a little something like this.

If you get a Script Disabled message like the one below, don't panic! This happens whenever you are in edit mode. Simply save your page by clicking the save button in the top left corner and then refresh your page and your form will come up.

If you're not diggin' the look of this simple one line form and prefer your forms to be only visible as a pop up after someone clicks a button don't worry. I have you covered.
Learn how to make your form a button pop up (like the one below) in my video tutorial.
Bonus Step: Make copies of your form for different areas of your site
As I mentioned earlier, I recommend create a separate form for each section of your site, rather than using the one form in multiple locations across your site. By having separate forms for different locations and pages on your website such as your website header, sidebar, individual blog posts etc, it makes it easier to track the conversion rates of your forms in the different locations on your site.
I know this sounds like a lot of work but don't freak out just yet. ConvertKit makes it easy for you to duplicate your form so that you don't have to create your form from scratch for each new form.
i. In the Form Settings go to the Other Options on the left hand side. Select the 'Duplicate This Form' button at the top of the page.

ii. You will be then taken to the Content tab of the copied form. Select the settings tab in the top toolbar.

iii. Rename your form by removing 'Copy of' and changing the location name at the end of your form name

iv. Hit 'Save Form' and your done! Now you can repeat Step 5 to embed this new form in the corresponding spot on your website.
Want to make this a Leadboxes type pop up form instead?
